Being a mum comes in all shapes and sizes. There are so many wonderful experiences and so many challenges. So many things to learn and so much to pass on. Plenty to share and plenty not worth sharing. Like, for example, I took Awena for her first swimming lesson today. It was so special. With COVID it’s so hard to find things to do, but this just felt like a real bonding opportunity. Something Poppi loves, and I do too (but not when I’m tired and it’s the end of a busy day), is being creative. Pinterest became one of my best friends over lockdown to provide ideas of things we could create for our various topics. So today I am going to share with you a beautiful and surprisingly easy delight to create. As mums, we like easy sometimes! As autumn gets into full swing it is a perfect time to collect the vibrant leaves and as the nights draw in what better to create than a lantern.
You will need:
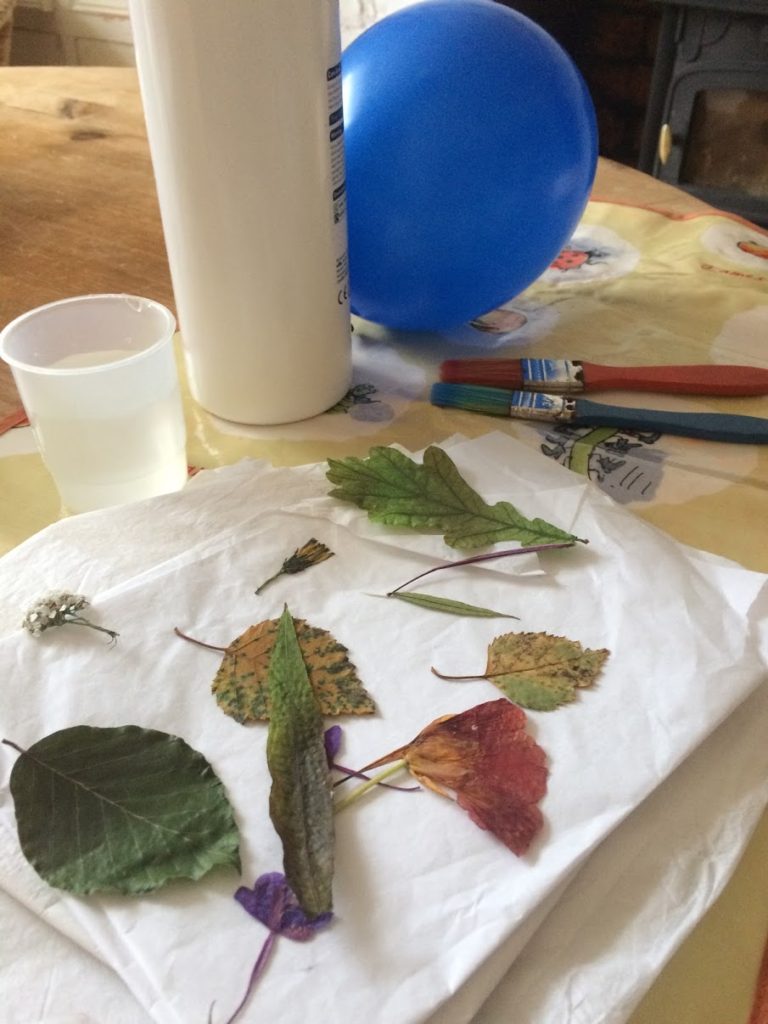
Pressed leaves/flowers
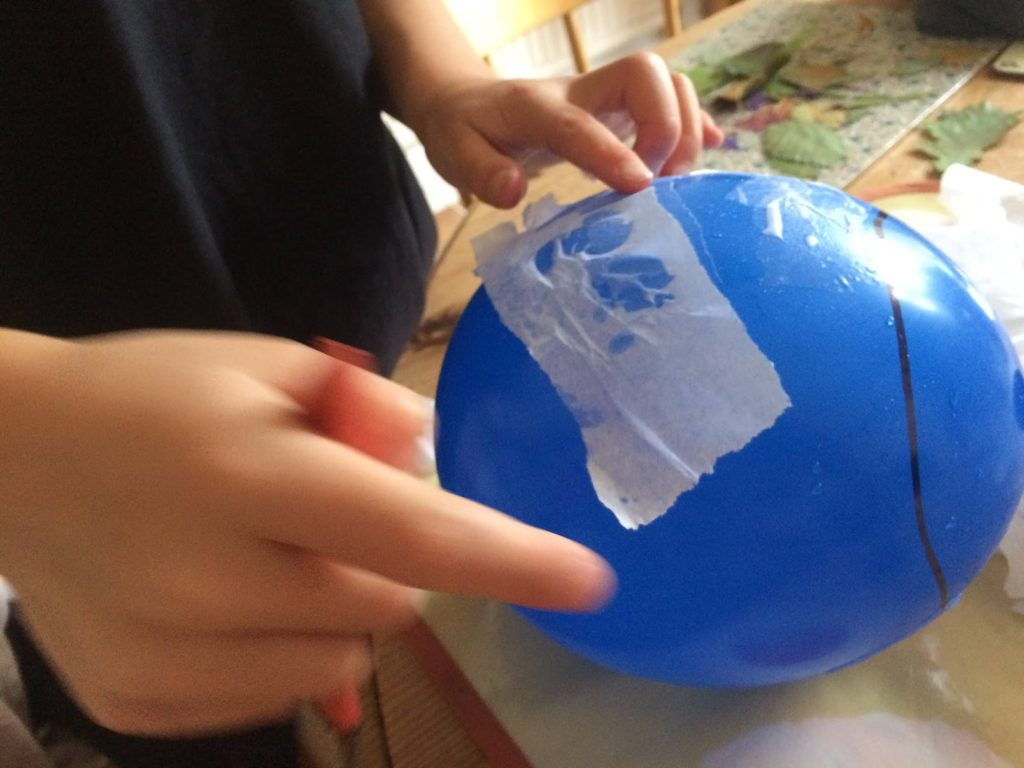
A balloon
PVA glue
Water
White tissue paper
String/wire
The first thing to do needs to happen about a week in advance of the lantern creation. How about an autumnal walk to collect some of those colourful leaves. Bring them home and lie them on some kitchen paper with another piece on top. Place a number of heavy books on top of the kitchen paper and leave for about a week to press the leaves.
Once your leaves are pressed you are ready to start creating your lantern.
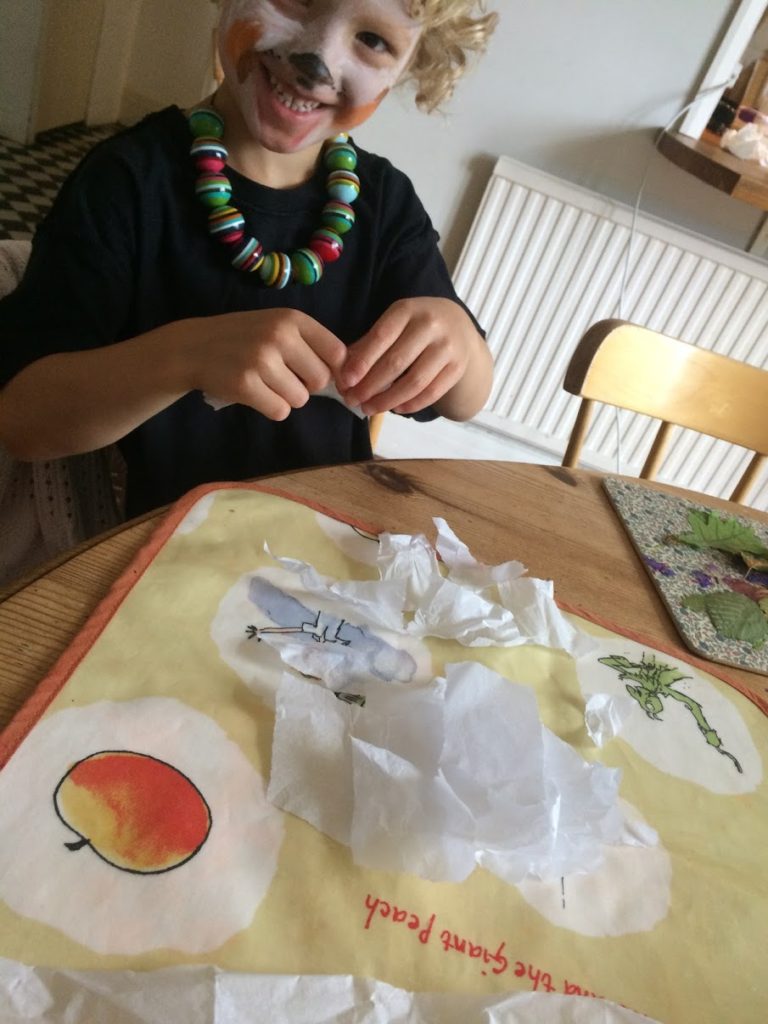
Tear up plenty of white tissue paper into small pieces/strips.
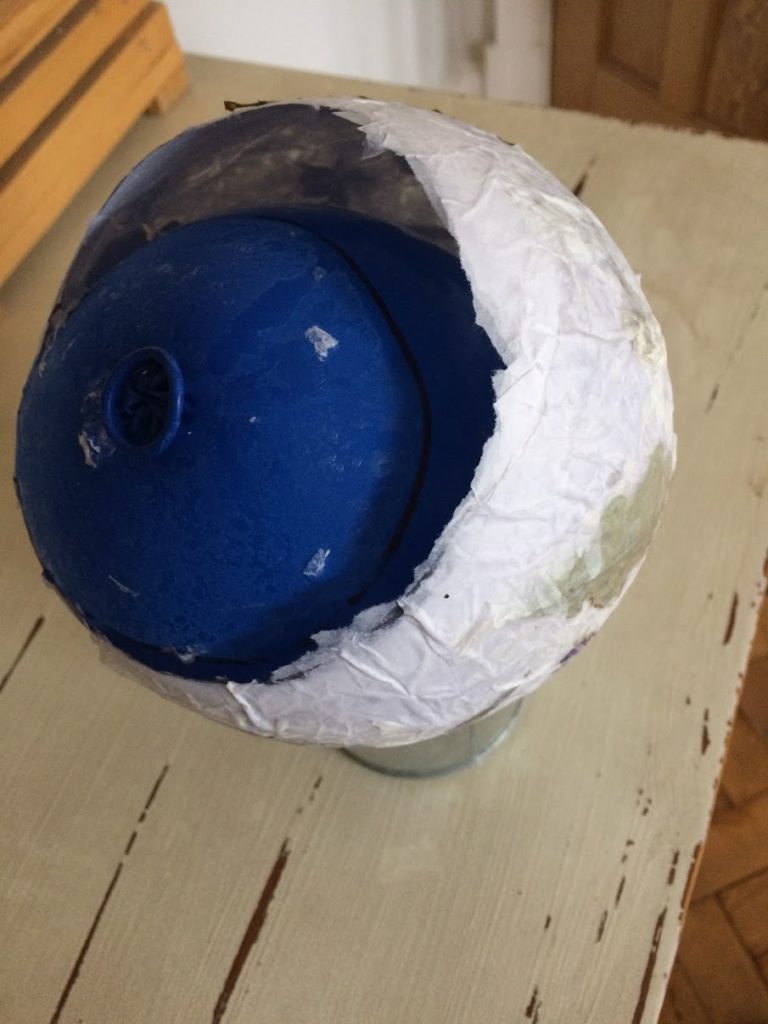
Blow up a balloon to your desired size and draw a line around the balloon near its neck.
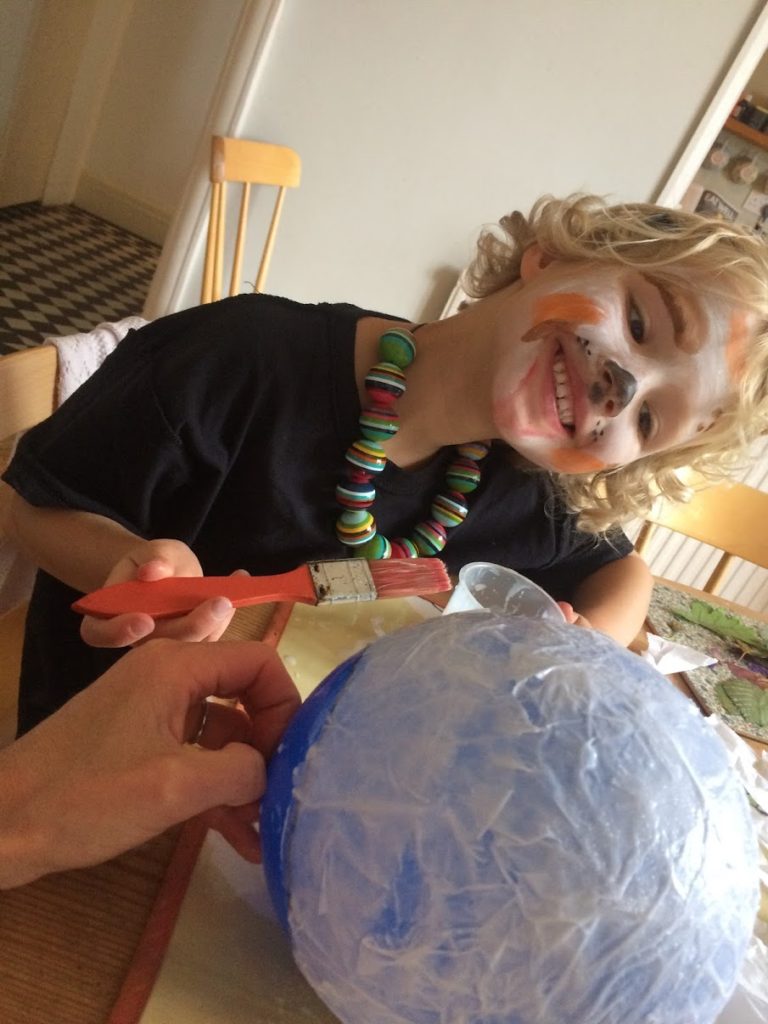
Using just water (to prevent the balloon from getting too stuck to the tissue paper) cover the balloon with tissue paper up to your line. Make sure the tissue paper is all wet. This will help the next layer stick better.
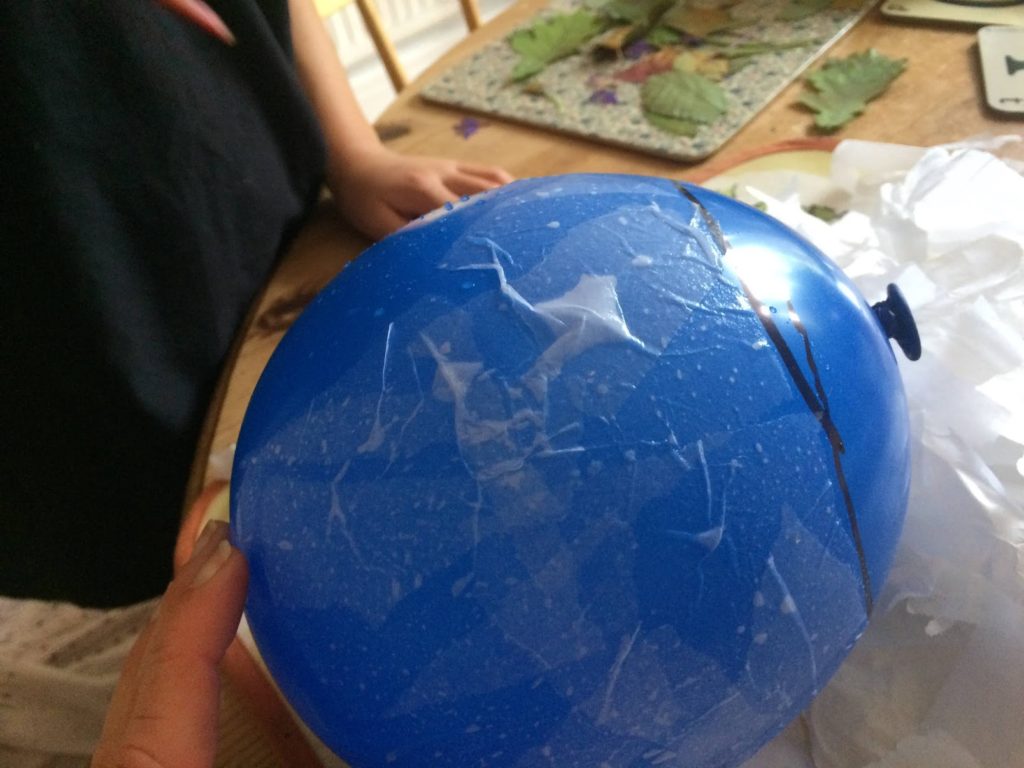
Mix some PVA glue with a splash of water to thin it a little.
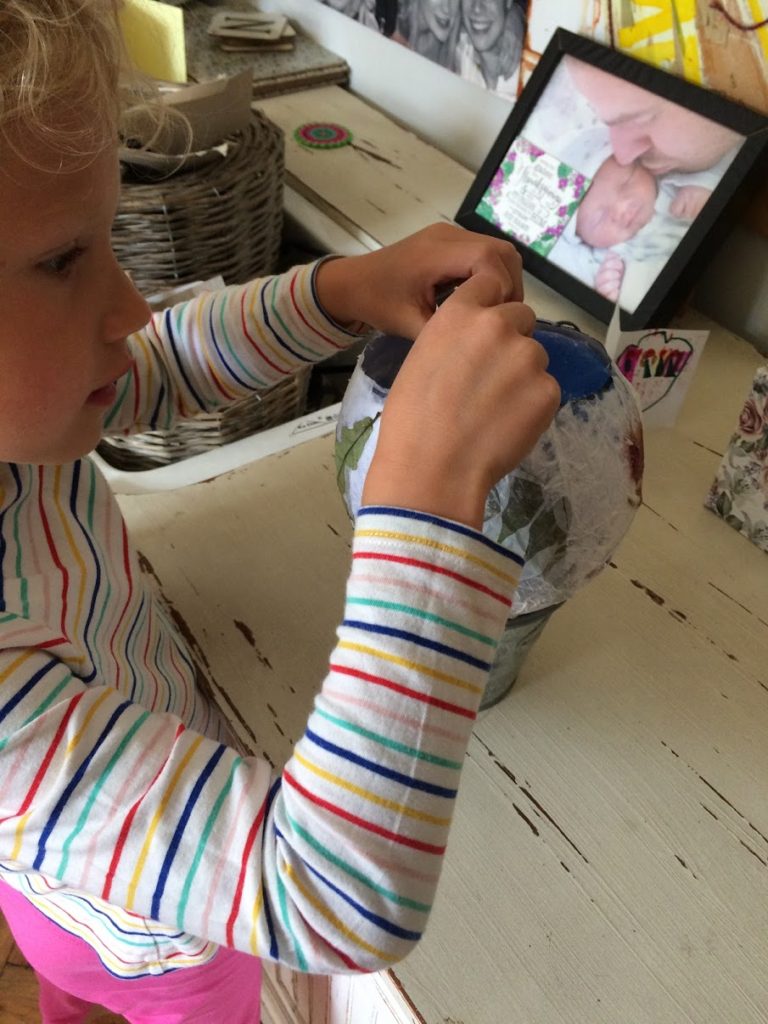
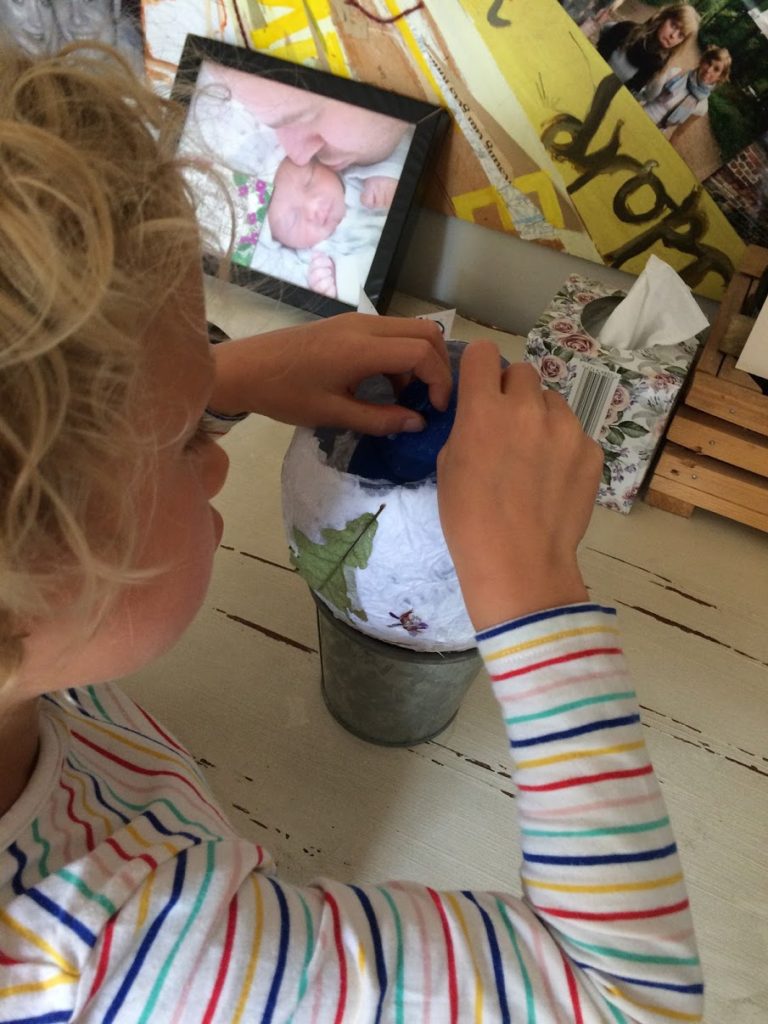
Continue covering the balloon with multiple layers of tissue paper and glue.
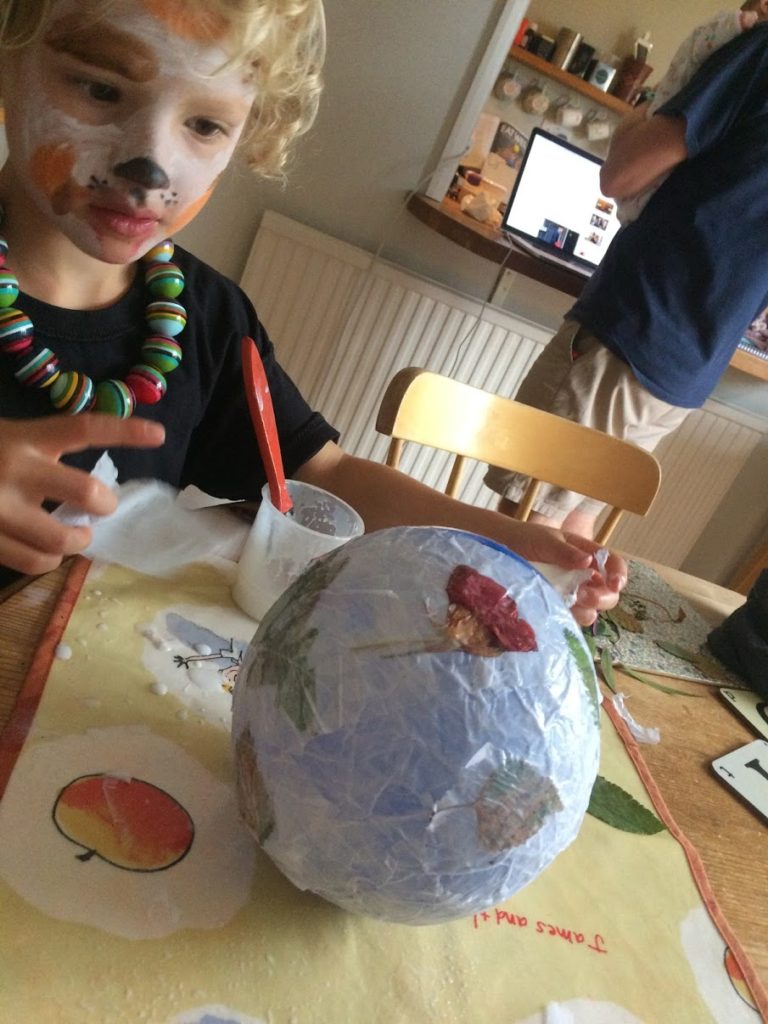
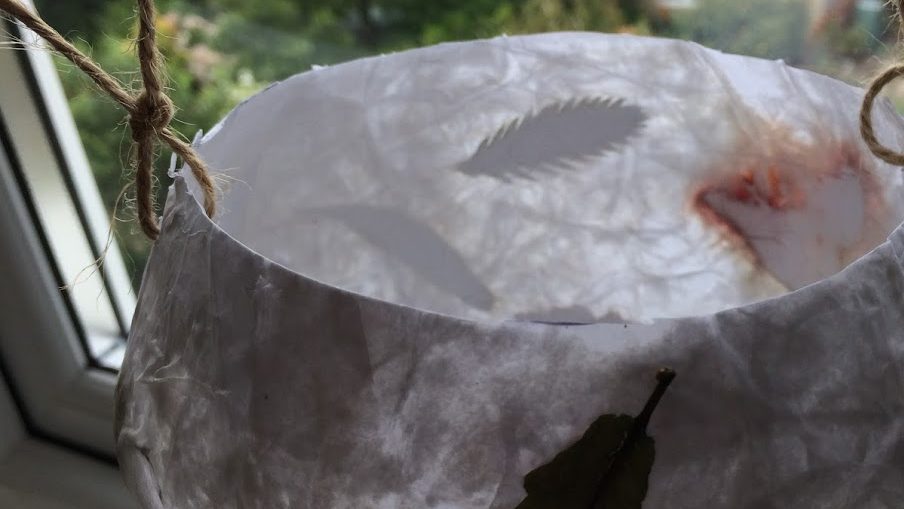
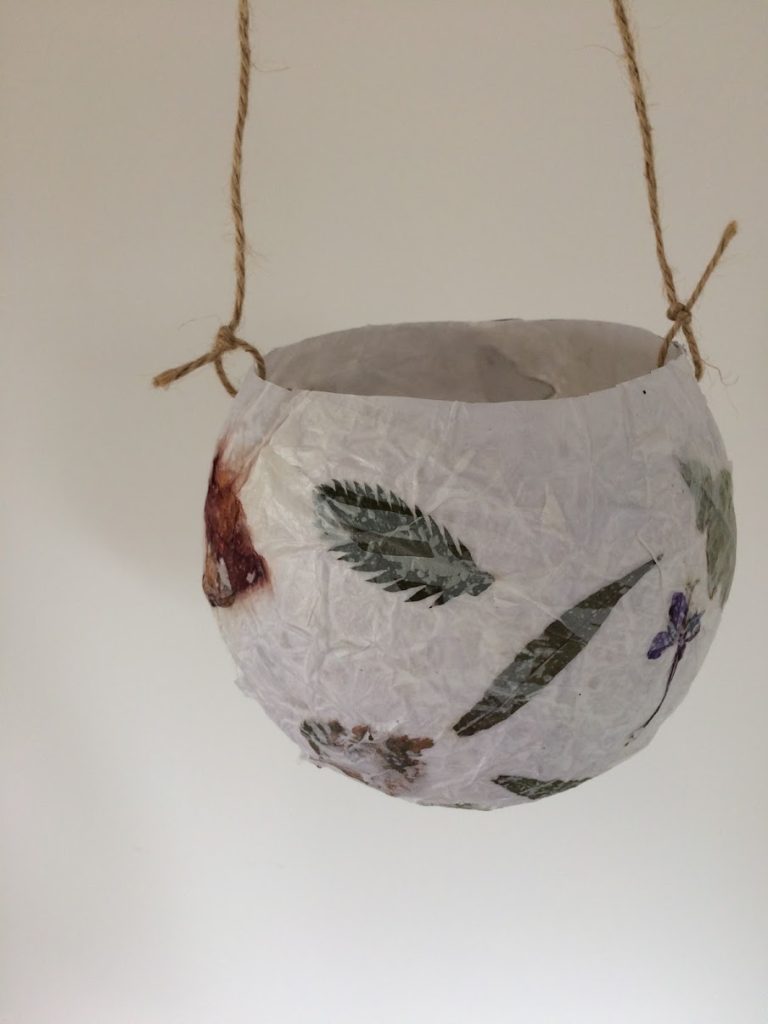
Before the final layer place your pressed leaves on the lantern. Cover with a final layer of tissue paper and glue.
(You can see Poppi’s creative mind from these photos – she insisted spending the day dressed as a puppy (but that is another story).)
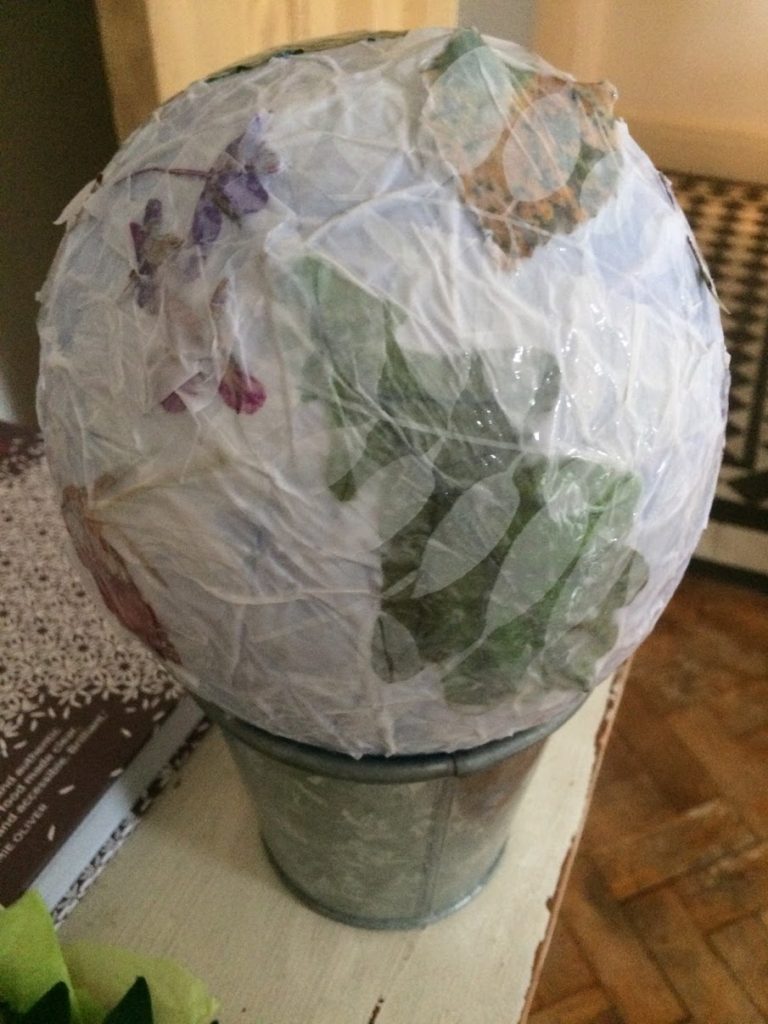
You will then need to leave the lantern to dry which may take a few days. We popped it on top of a plant pot which held it quite well.
As it so happened, Poppi went on a mini-break (!) for a few days and on her return, the balloon had already started to peel away from the lantern. This made the next step of removing the balloon much easier.
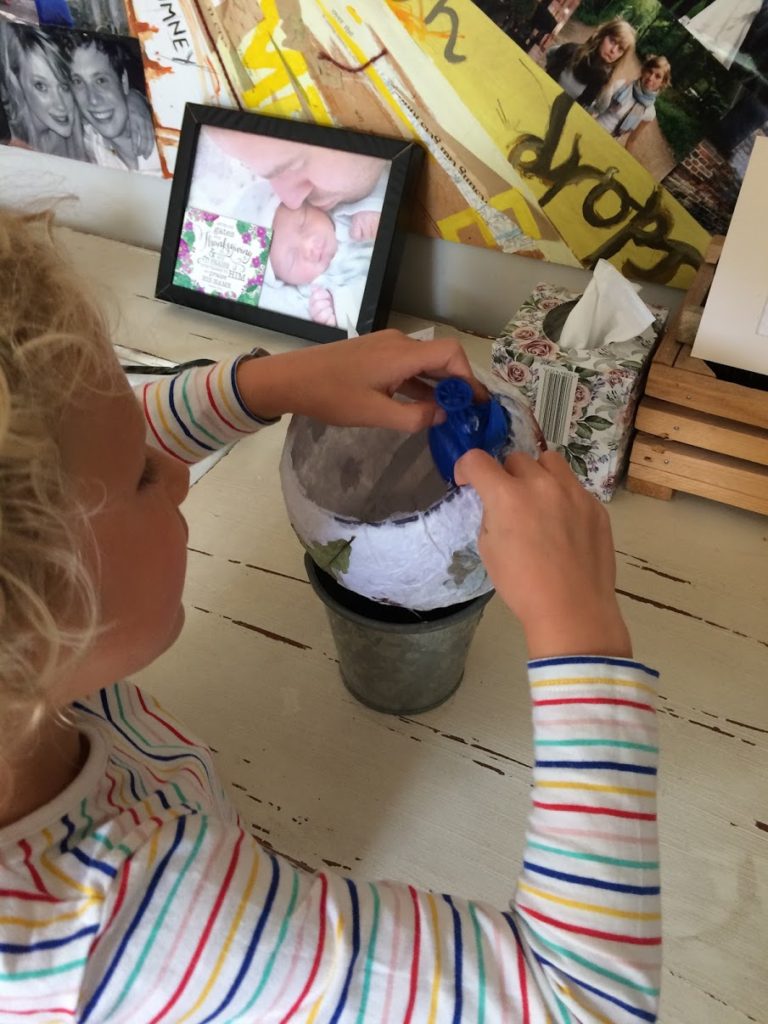
When you have removed the balloon very carefully make two holes in either side and attach some string or wire.
Your lantern is then ready to hang.
NB: do not use a real candle inside for obvious reasons!! One of those battery-powered tea lights works well (as long as it’s a good bright one).
Hope you have fun exploring nature and making this very effective creation.